My good friend Gabriele is pregnant, and with that come – among other things – certain sartorial challenges. Well, I’m here to help. We got together a couple of months ago, and after flicking through a stack of my old Burdastyle magazines we had a short list.

From Burdastyle.de
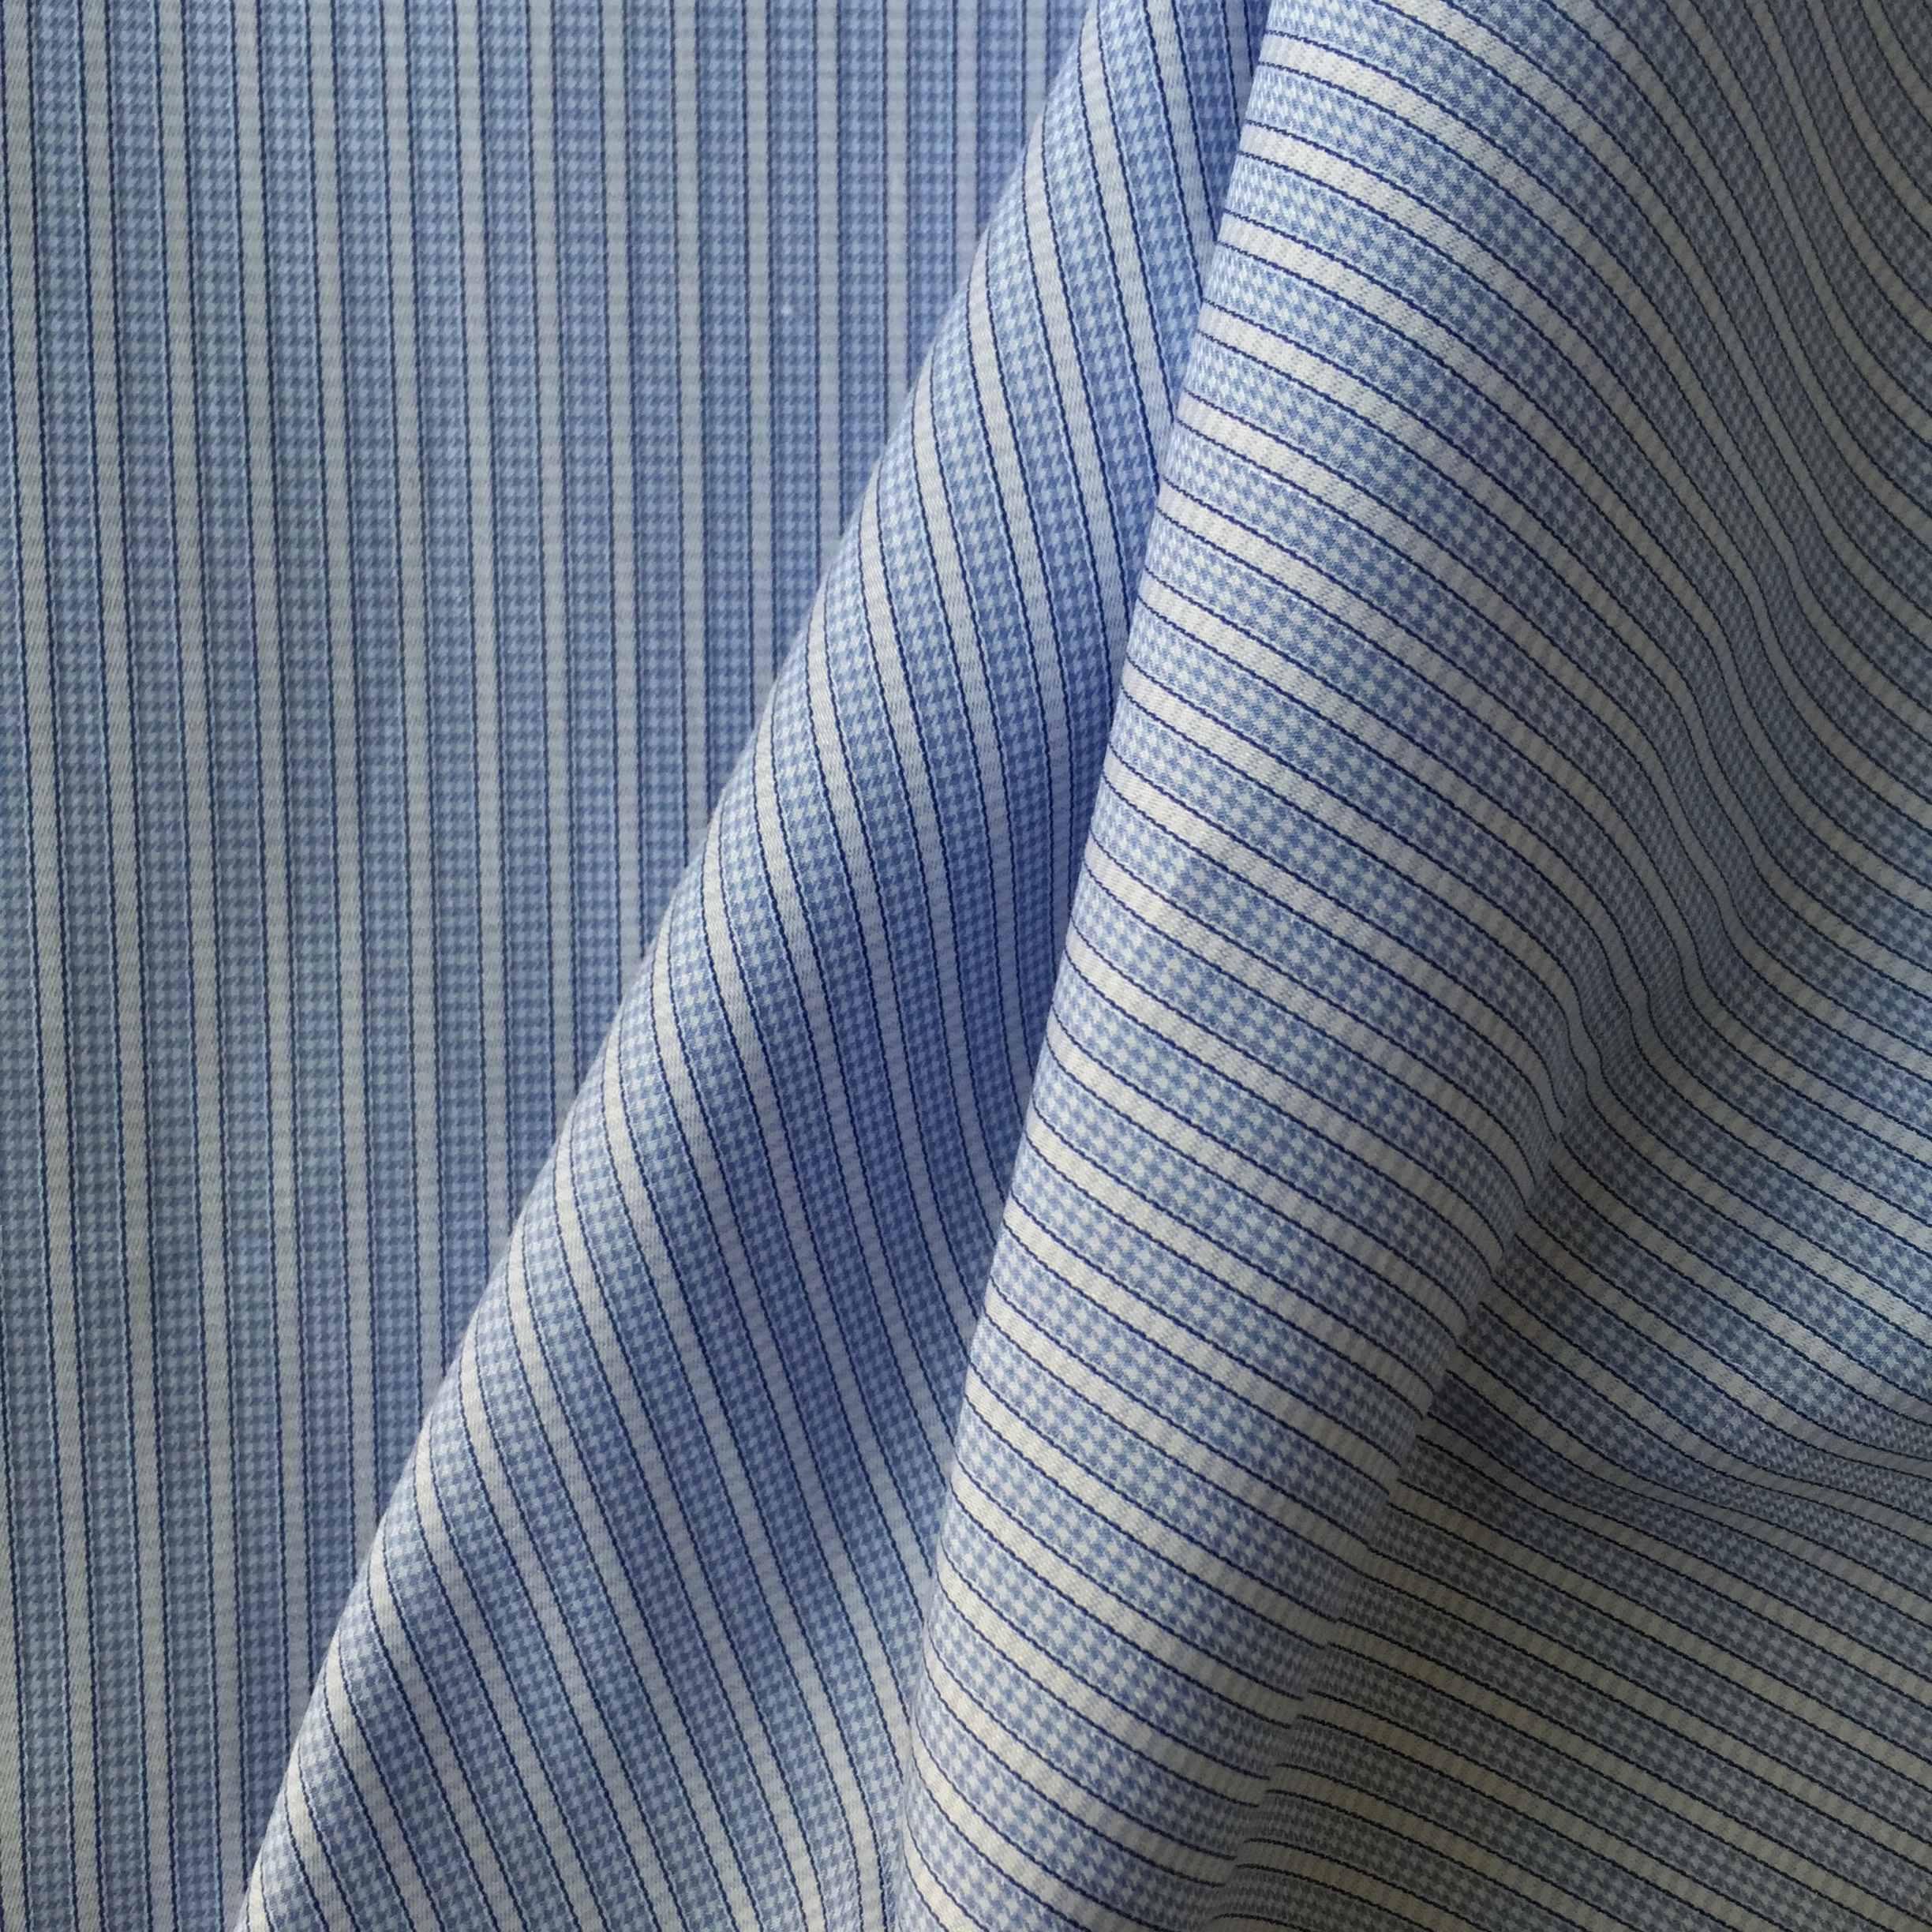
We went with a crisp cotton shirting, airy and cool for the summer. For a men’s dress shirt it might have come across a little conservative, but this project transformed it into something fresh and smart – a good example of how a fabric can change with its application.

We decided on a few changes, the most obvious one being short sleeves rather than long ones – and considering the heat waves we’ve had so far this summer, that turned out to be a good call.


Ghost-tummy not included.
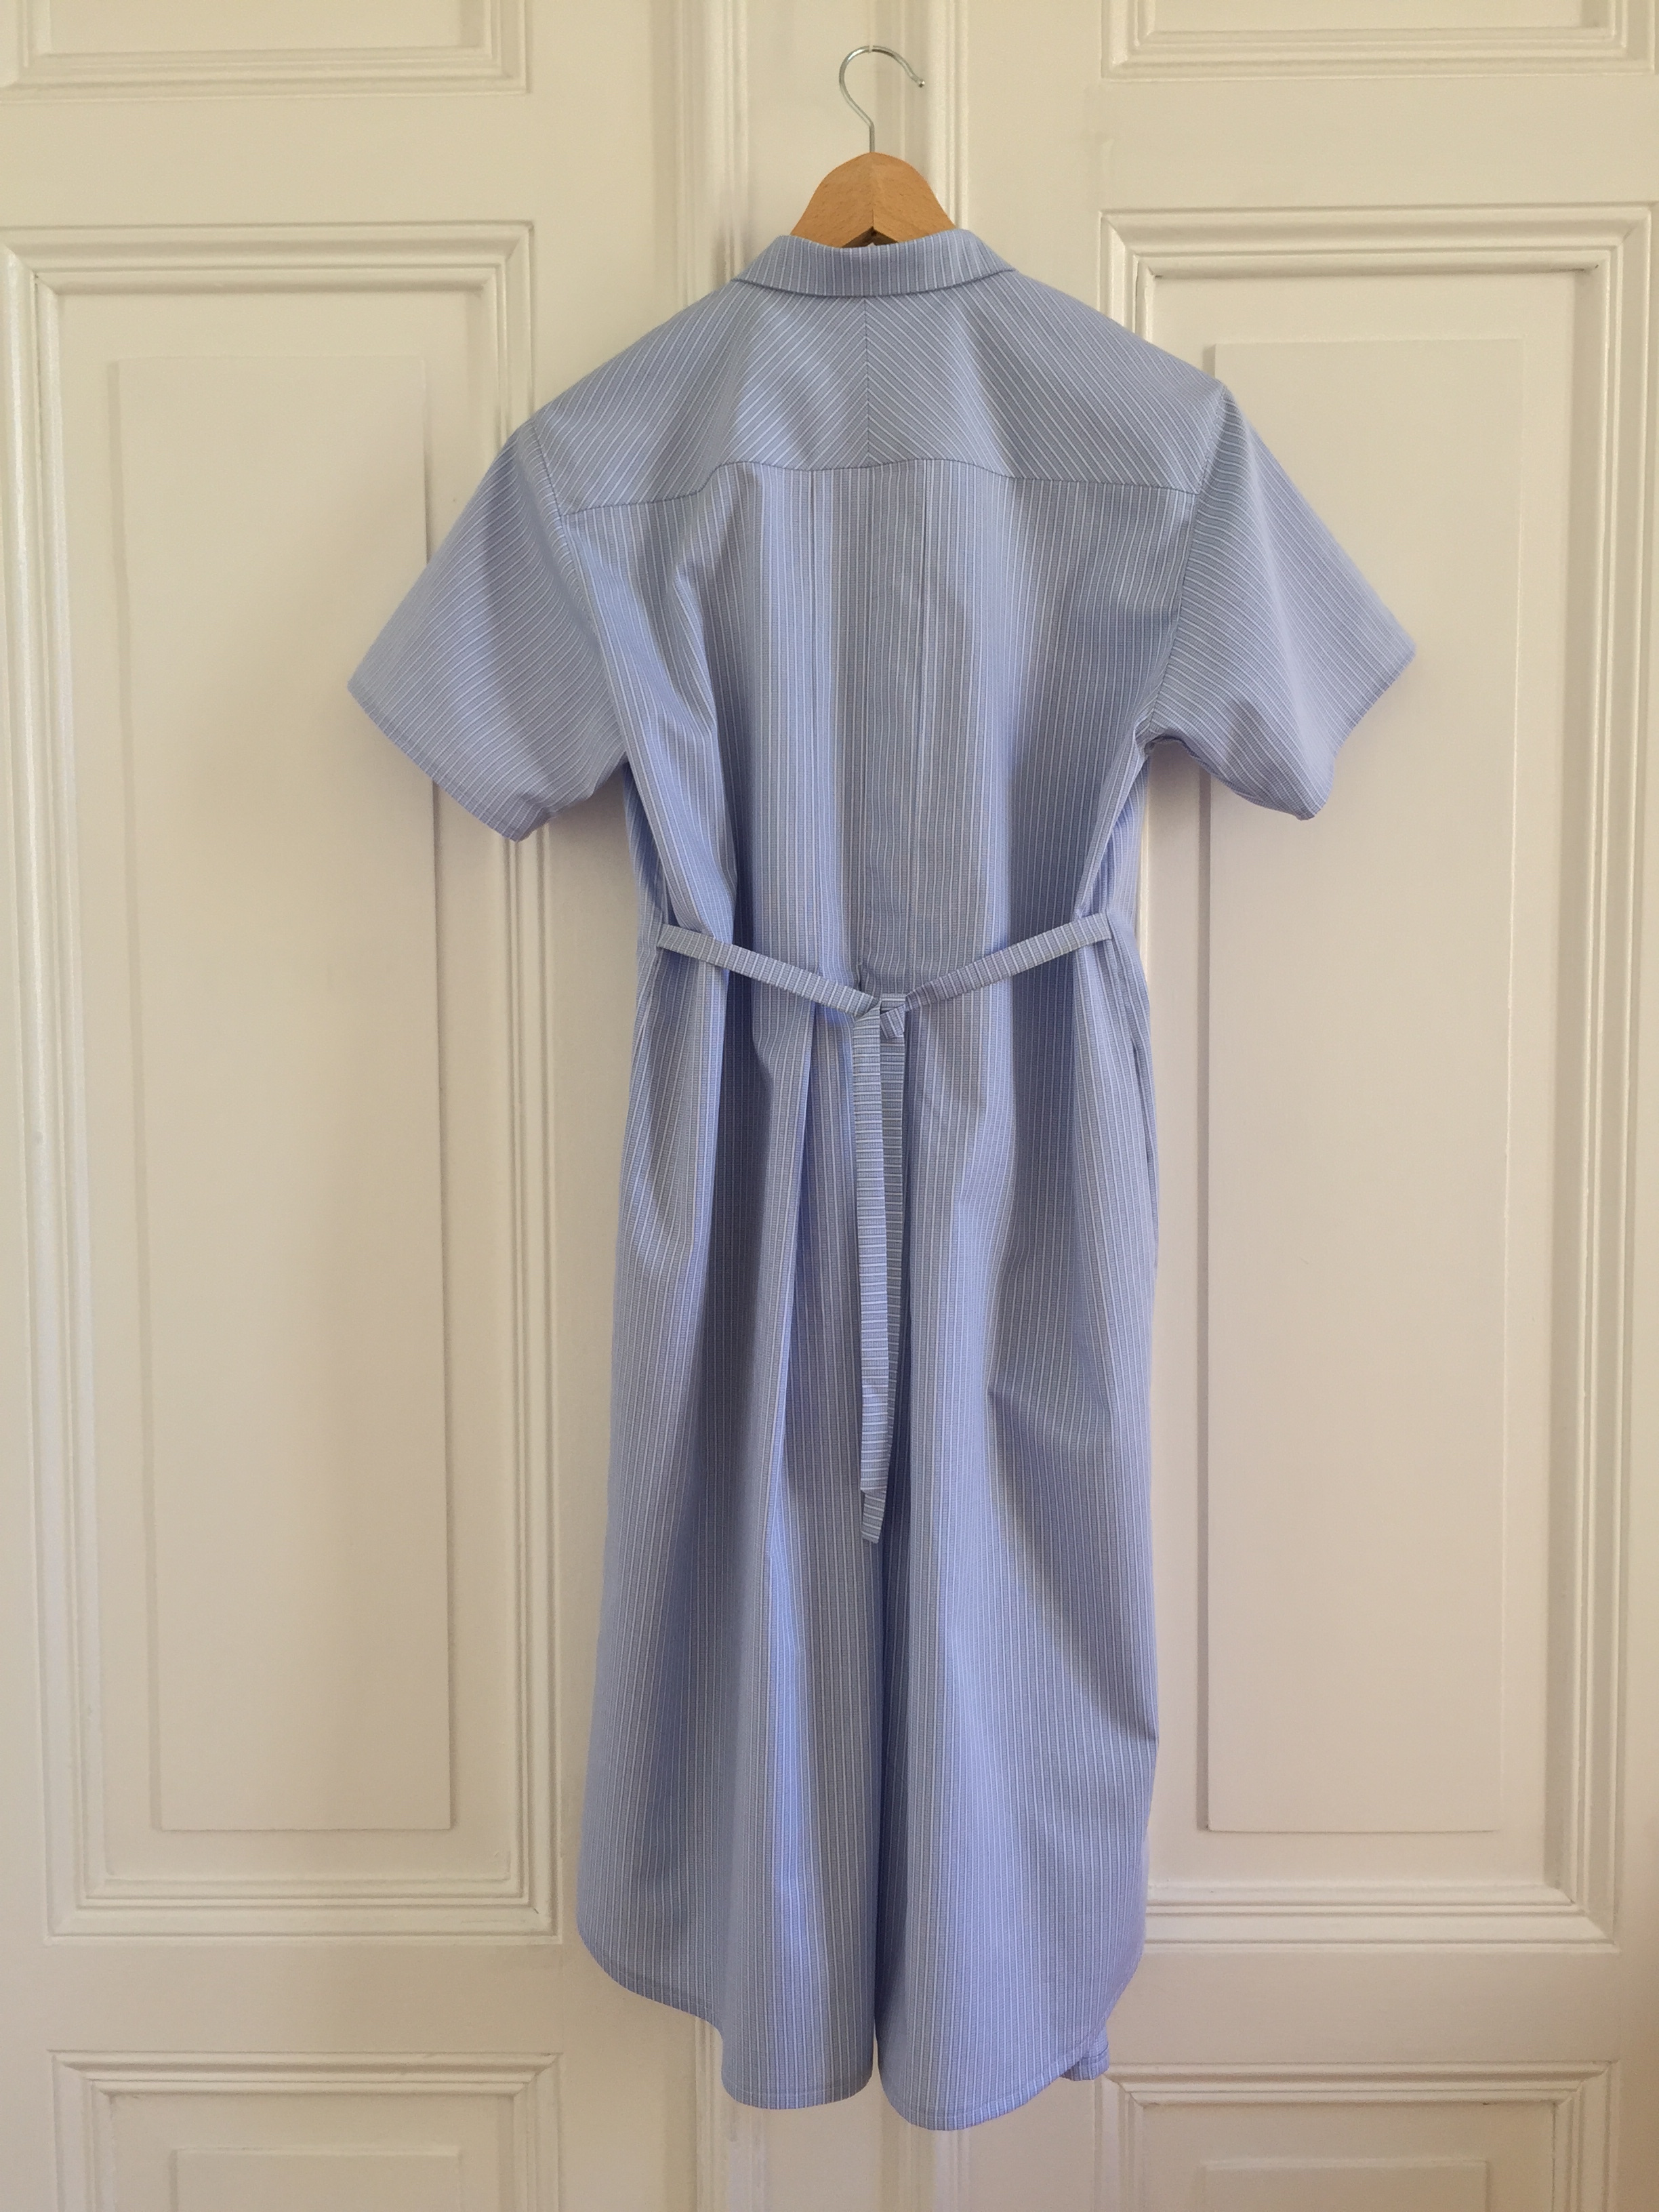

Yoke, with very nearly perfectly matched stripes

This tutorial from Burdastyle was great for figuring out the button stand
And of course it has pockets. What kind of monster would I be not to make pockets? 

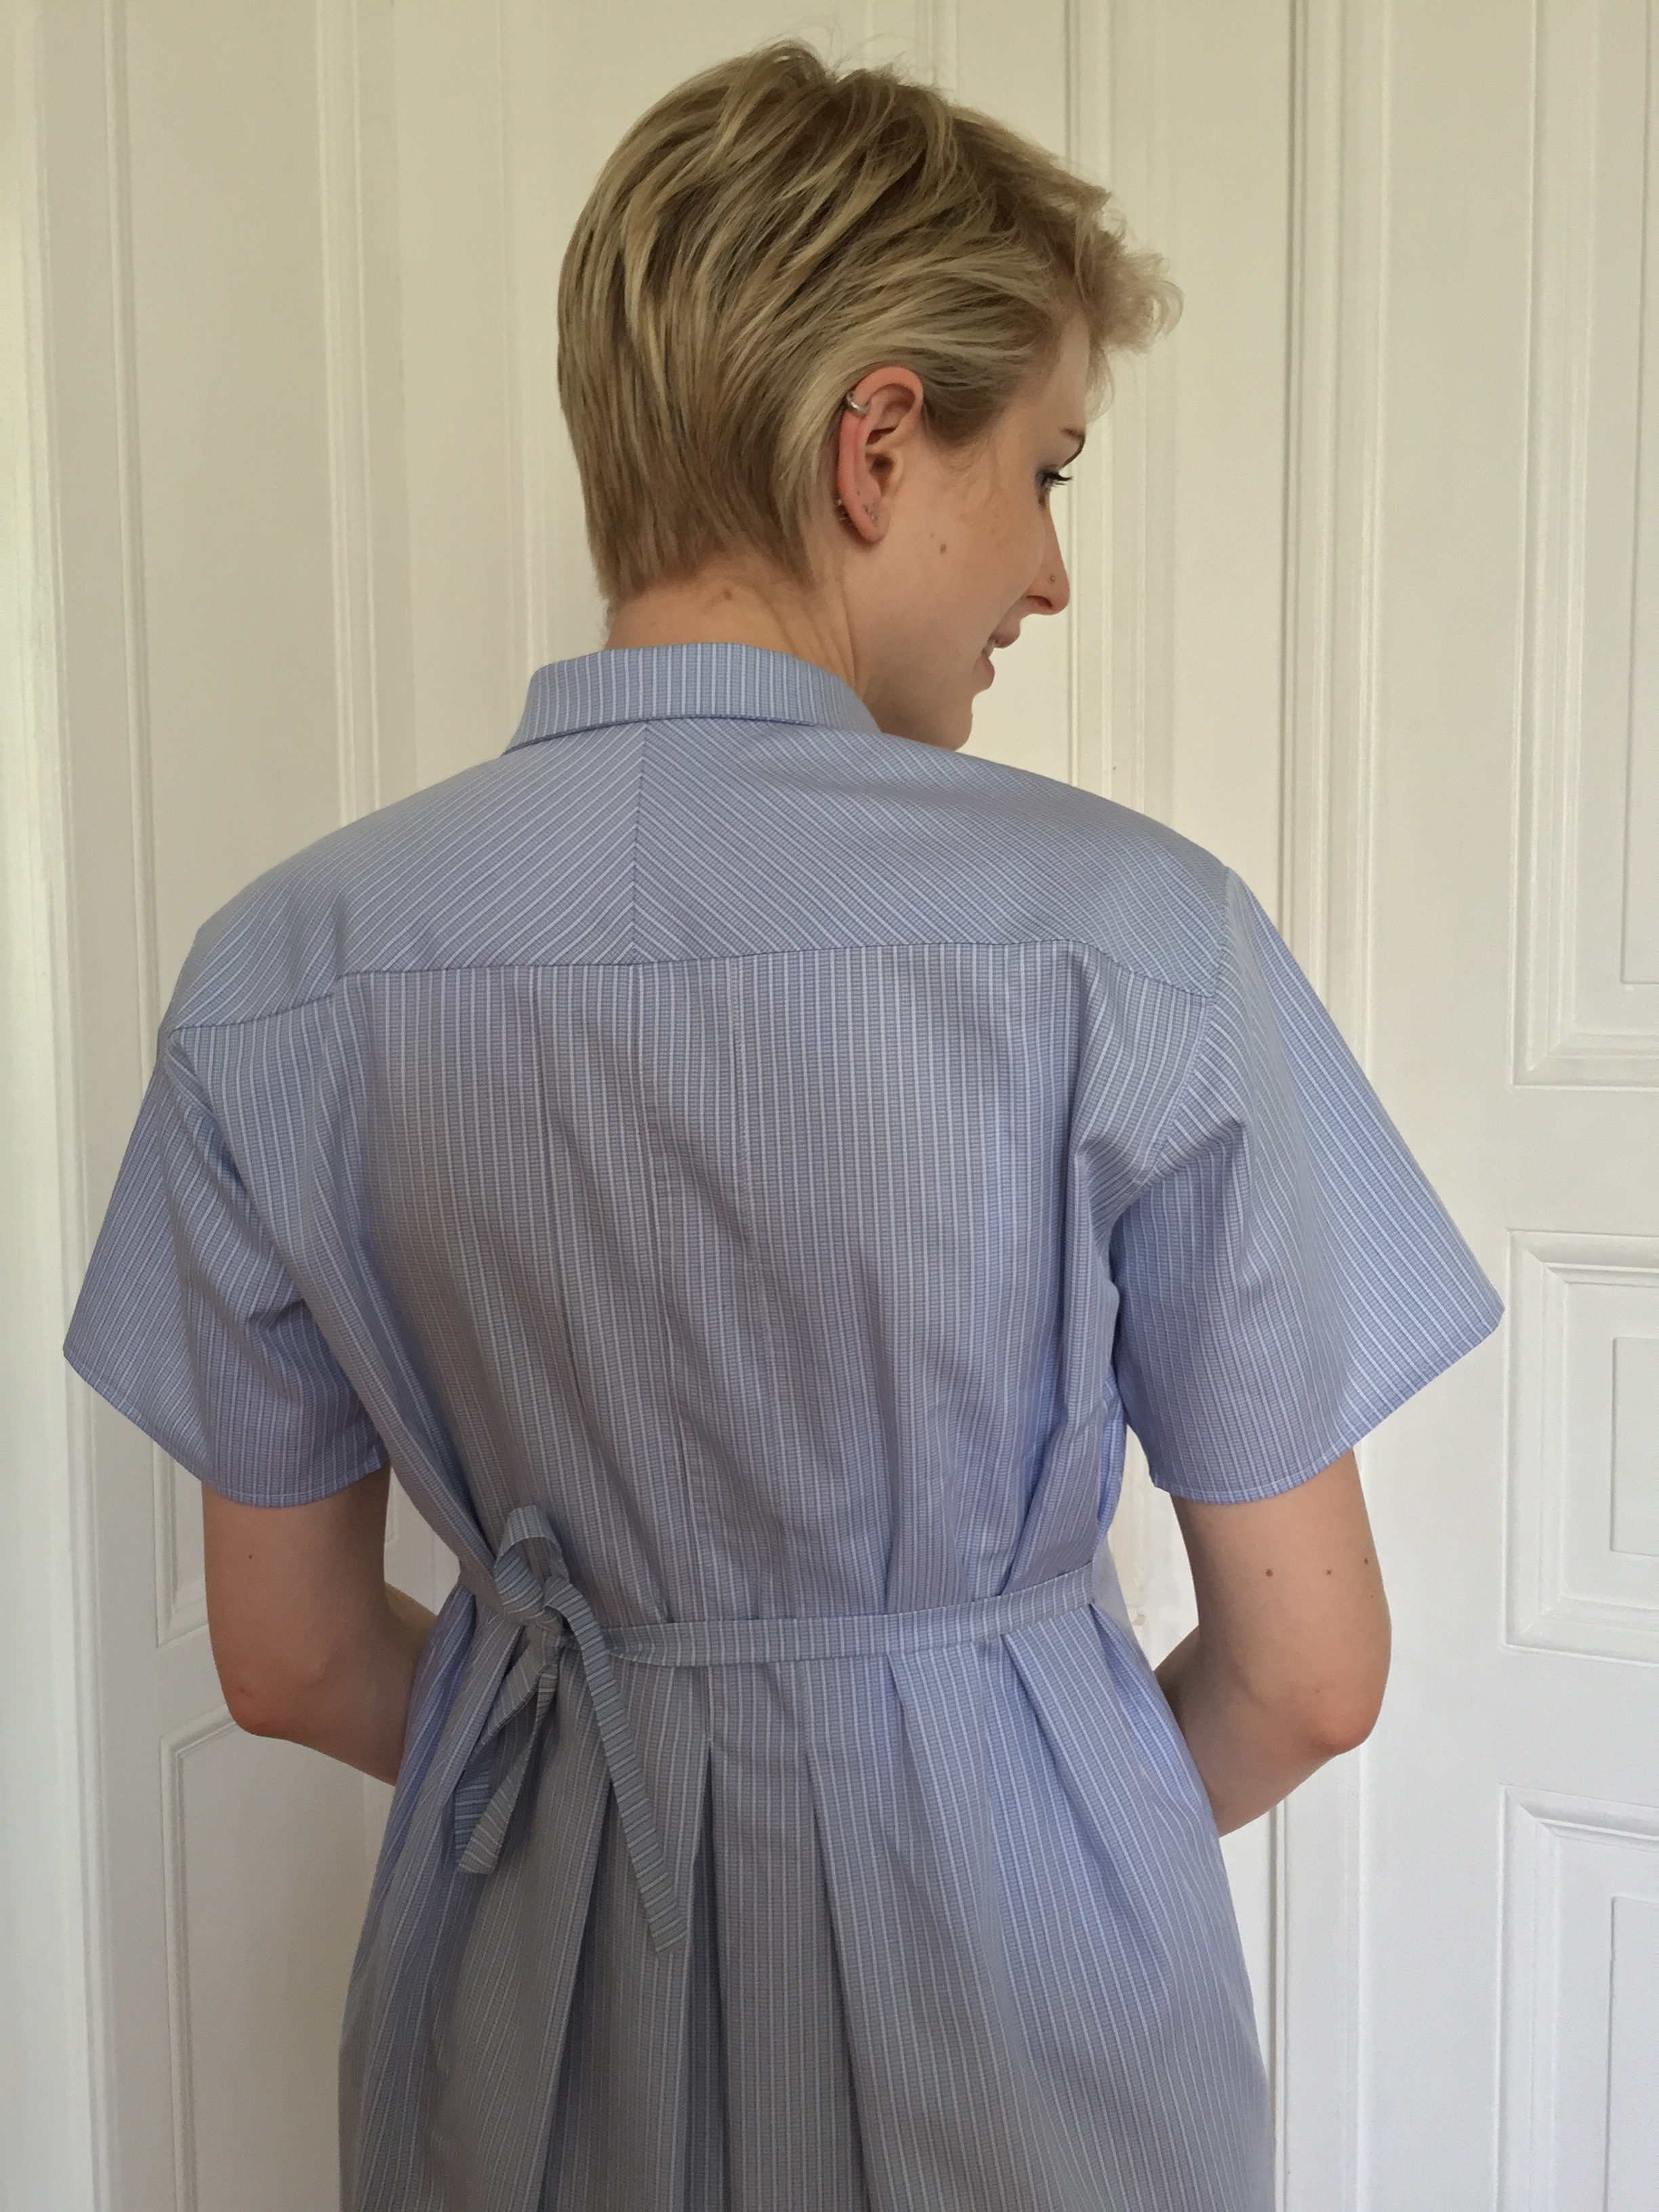

Over all, I had no particular trouble with the pattern – Burda instructions can be a bit opaque so it helps if you have made a shirt before. One thing, though. The front pleats, and how they are folded in what becomes the neckline, demands a bit of concentration. The two pleats closest to the button stand have these sort of jagged peaks, which, when folded, should form the curve of the neckline.

Once I had folded the pleats, the peaks did not reach as high as they were supposed to, or curve as desired. (And I made absolutely sure that I folded them in the correct direction.) This is what I think my problem was: once you add the seam allowance to those peaks, it is very easy to distort their shape, and thus the neckline. I guess my best advice is to keep this in mind, and not be too surprised if it looks a bit of a mess once you’ve folded the pleats – I drew in the seam line so I didn’t have to worry about the uneven seam allowance, and the collar came on without any more trouble than collars usually do. If I were to do it again, I think I would simply extend the pleats beyond those peaks, draw the curve, and trim as needed.
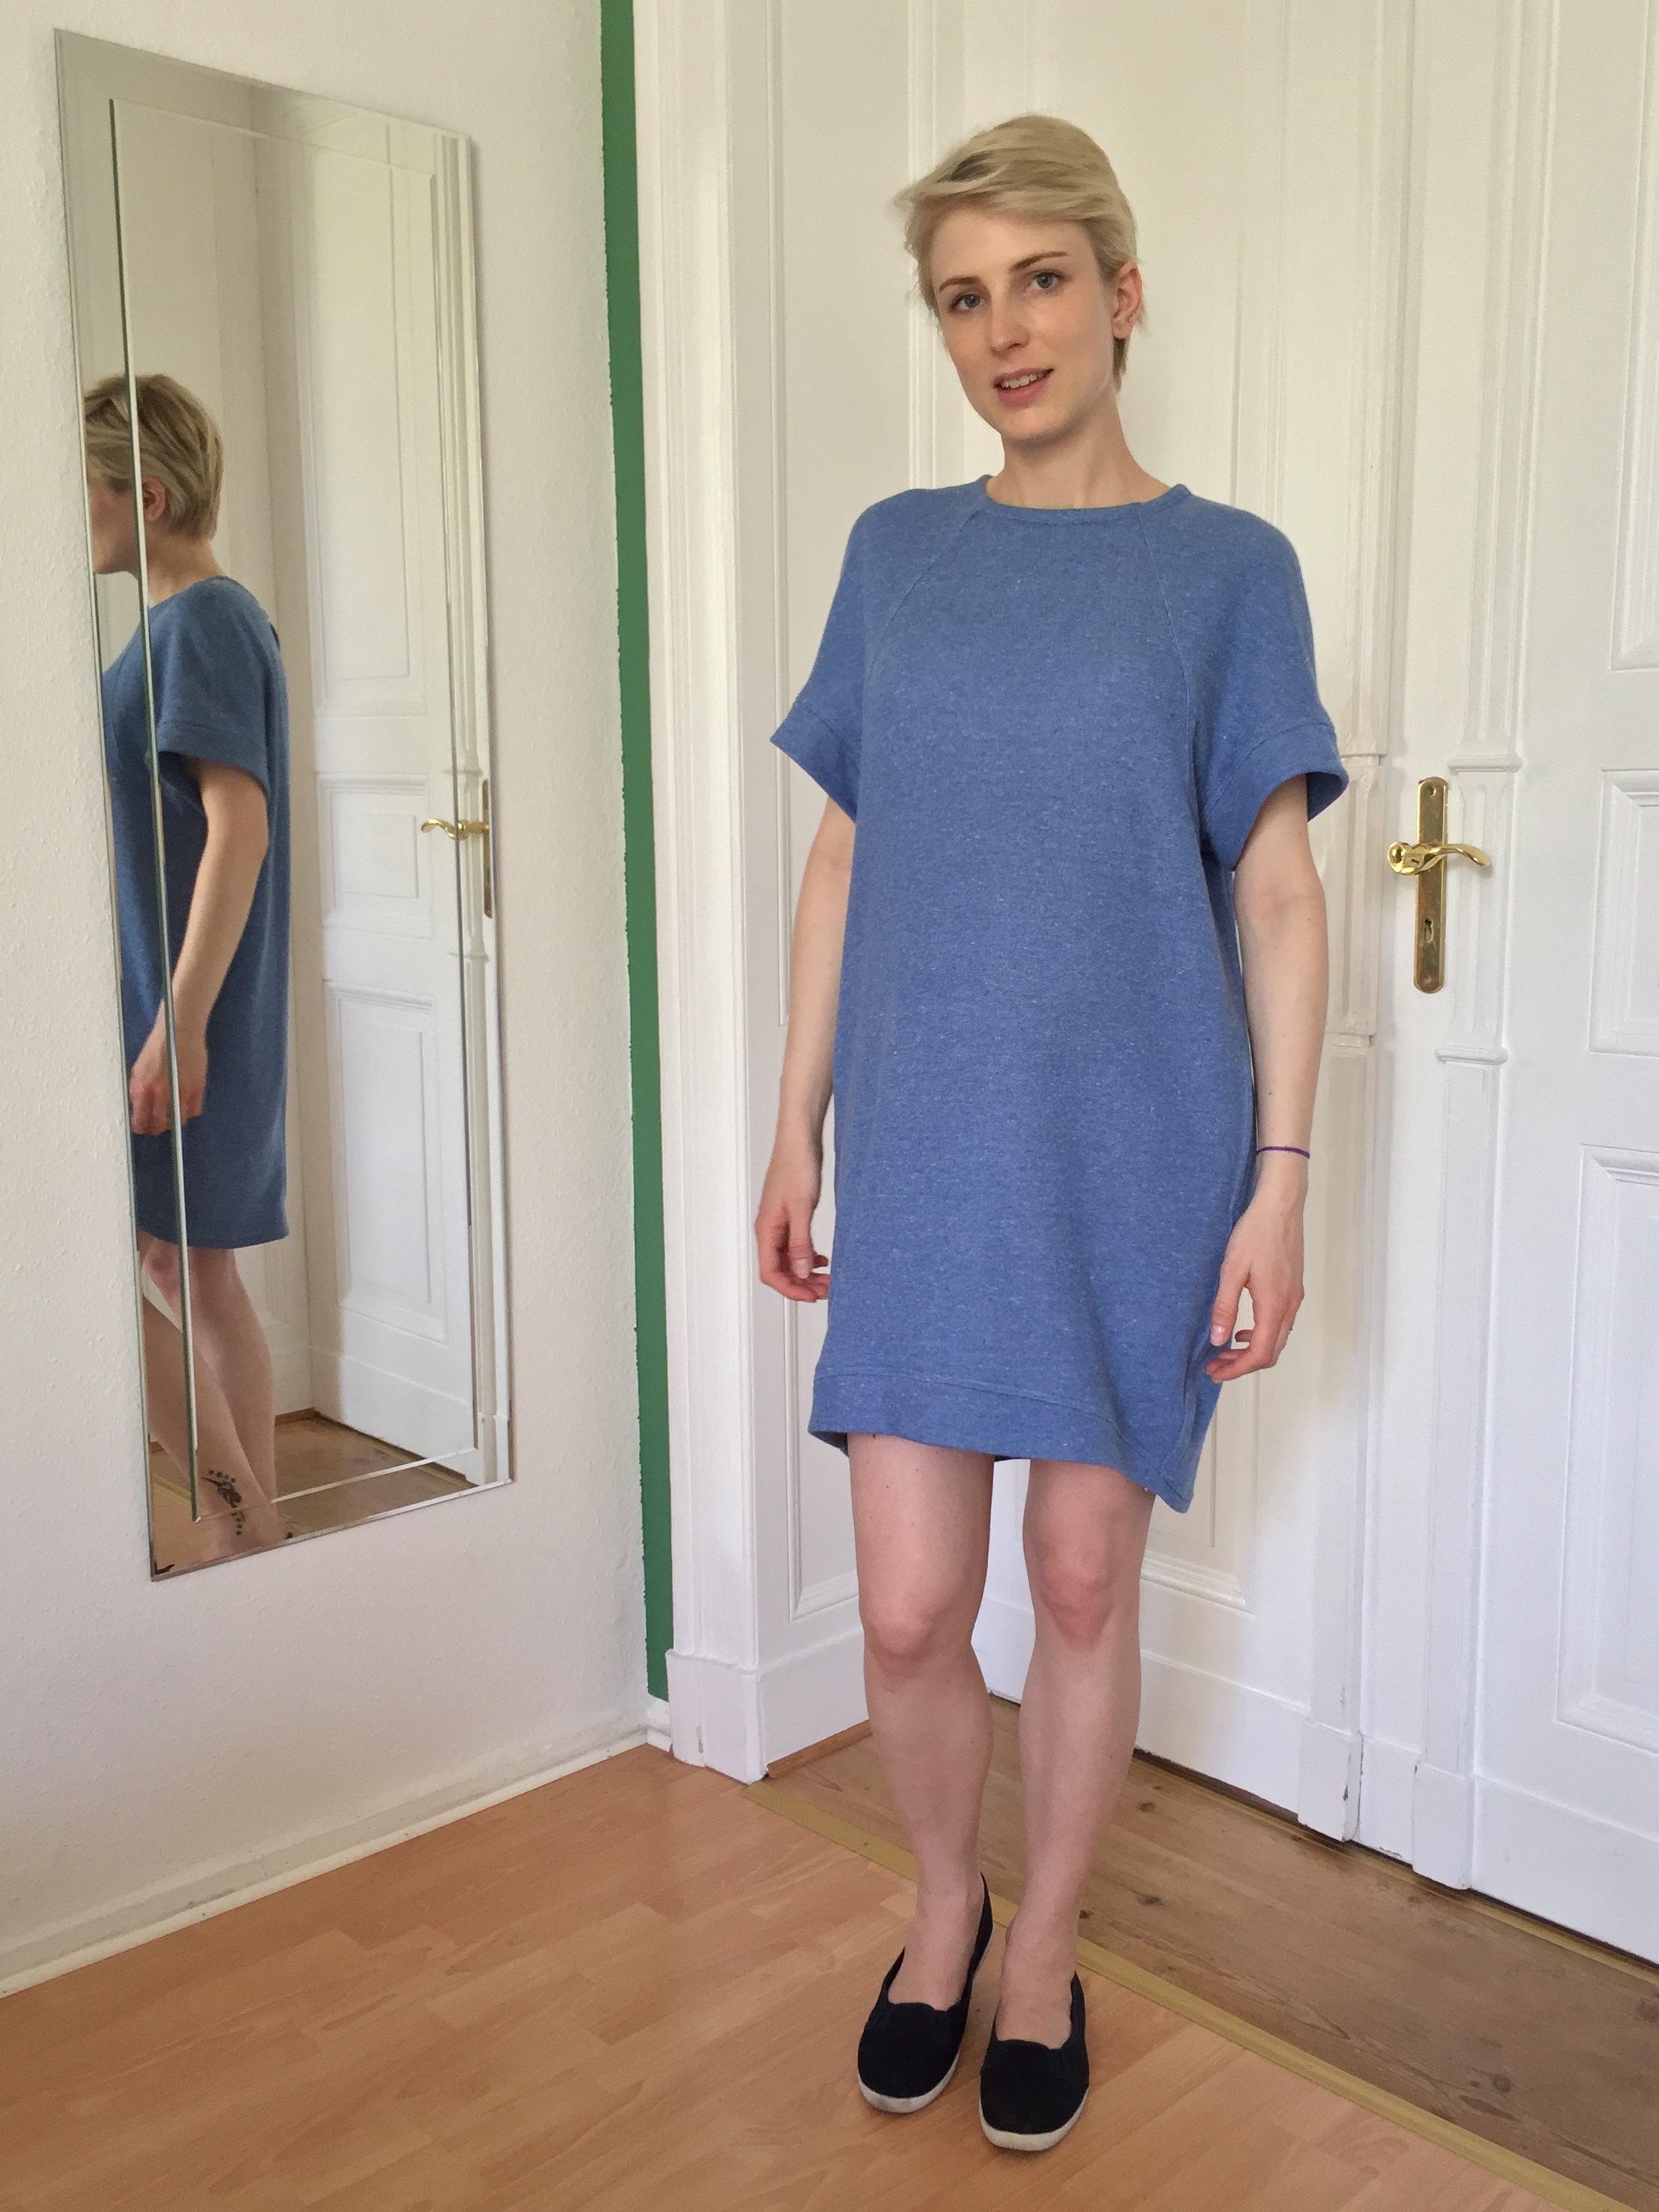
The other dress Gabriele chose was an oversized t-shirt-style dress – not a maternity pattern at all, just a spacious, easy dress – I really, really want one, as well. (Note to self: do not mention to your mum that you want a dress you made for a pregnant friend, and not be pregnant.)
I cut a size 38, one size bigger than what Gabriele usually take.

By the time Steffi and Max realised it was not an albatross, it was too late.
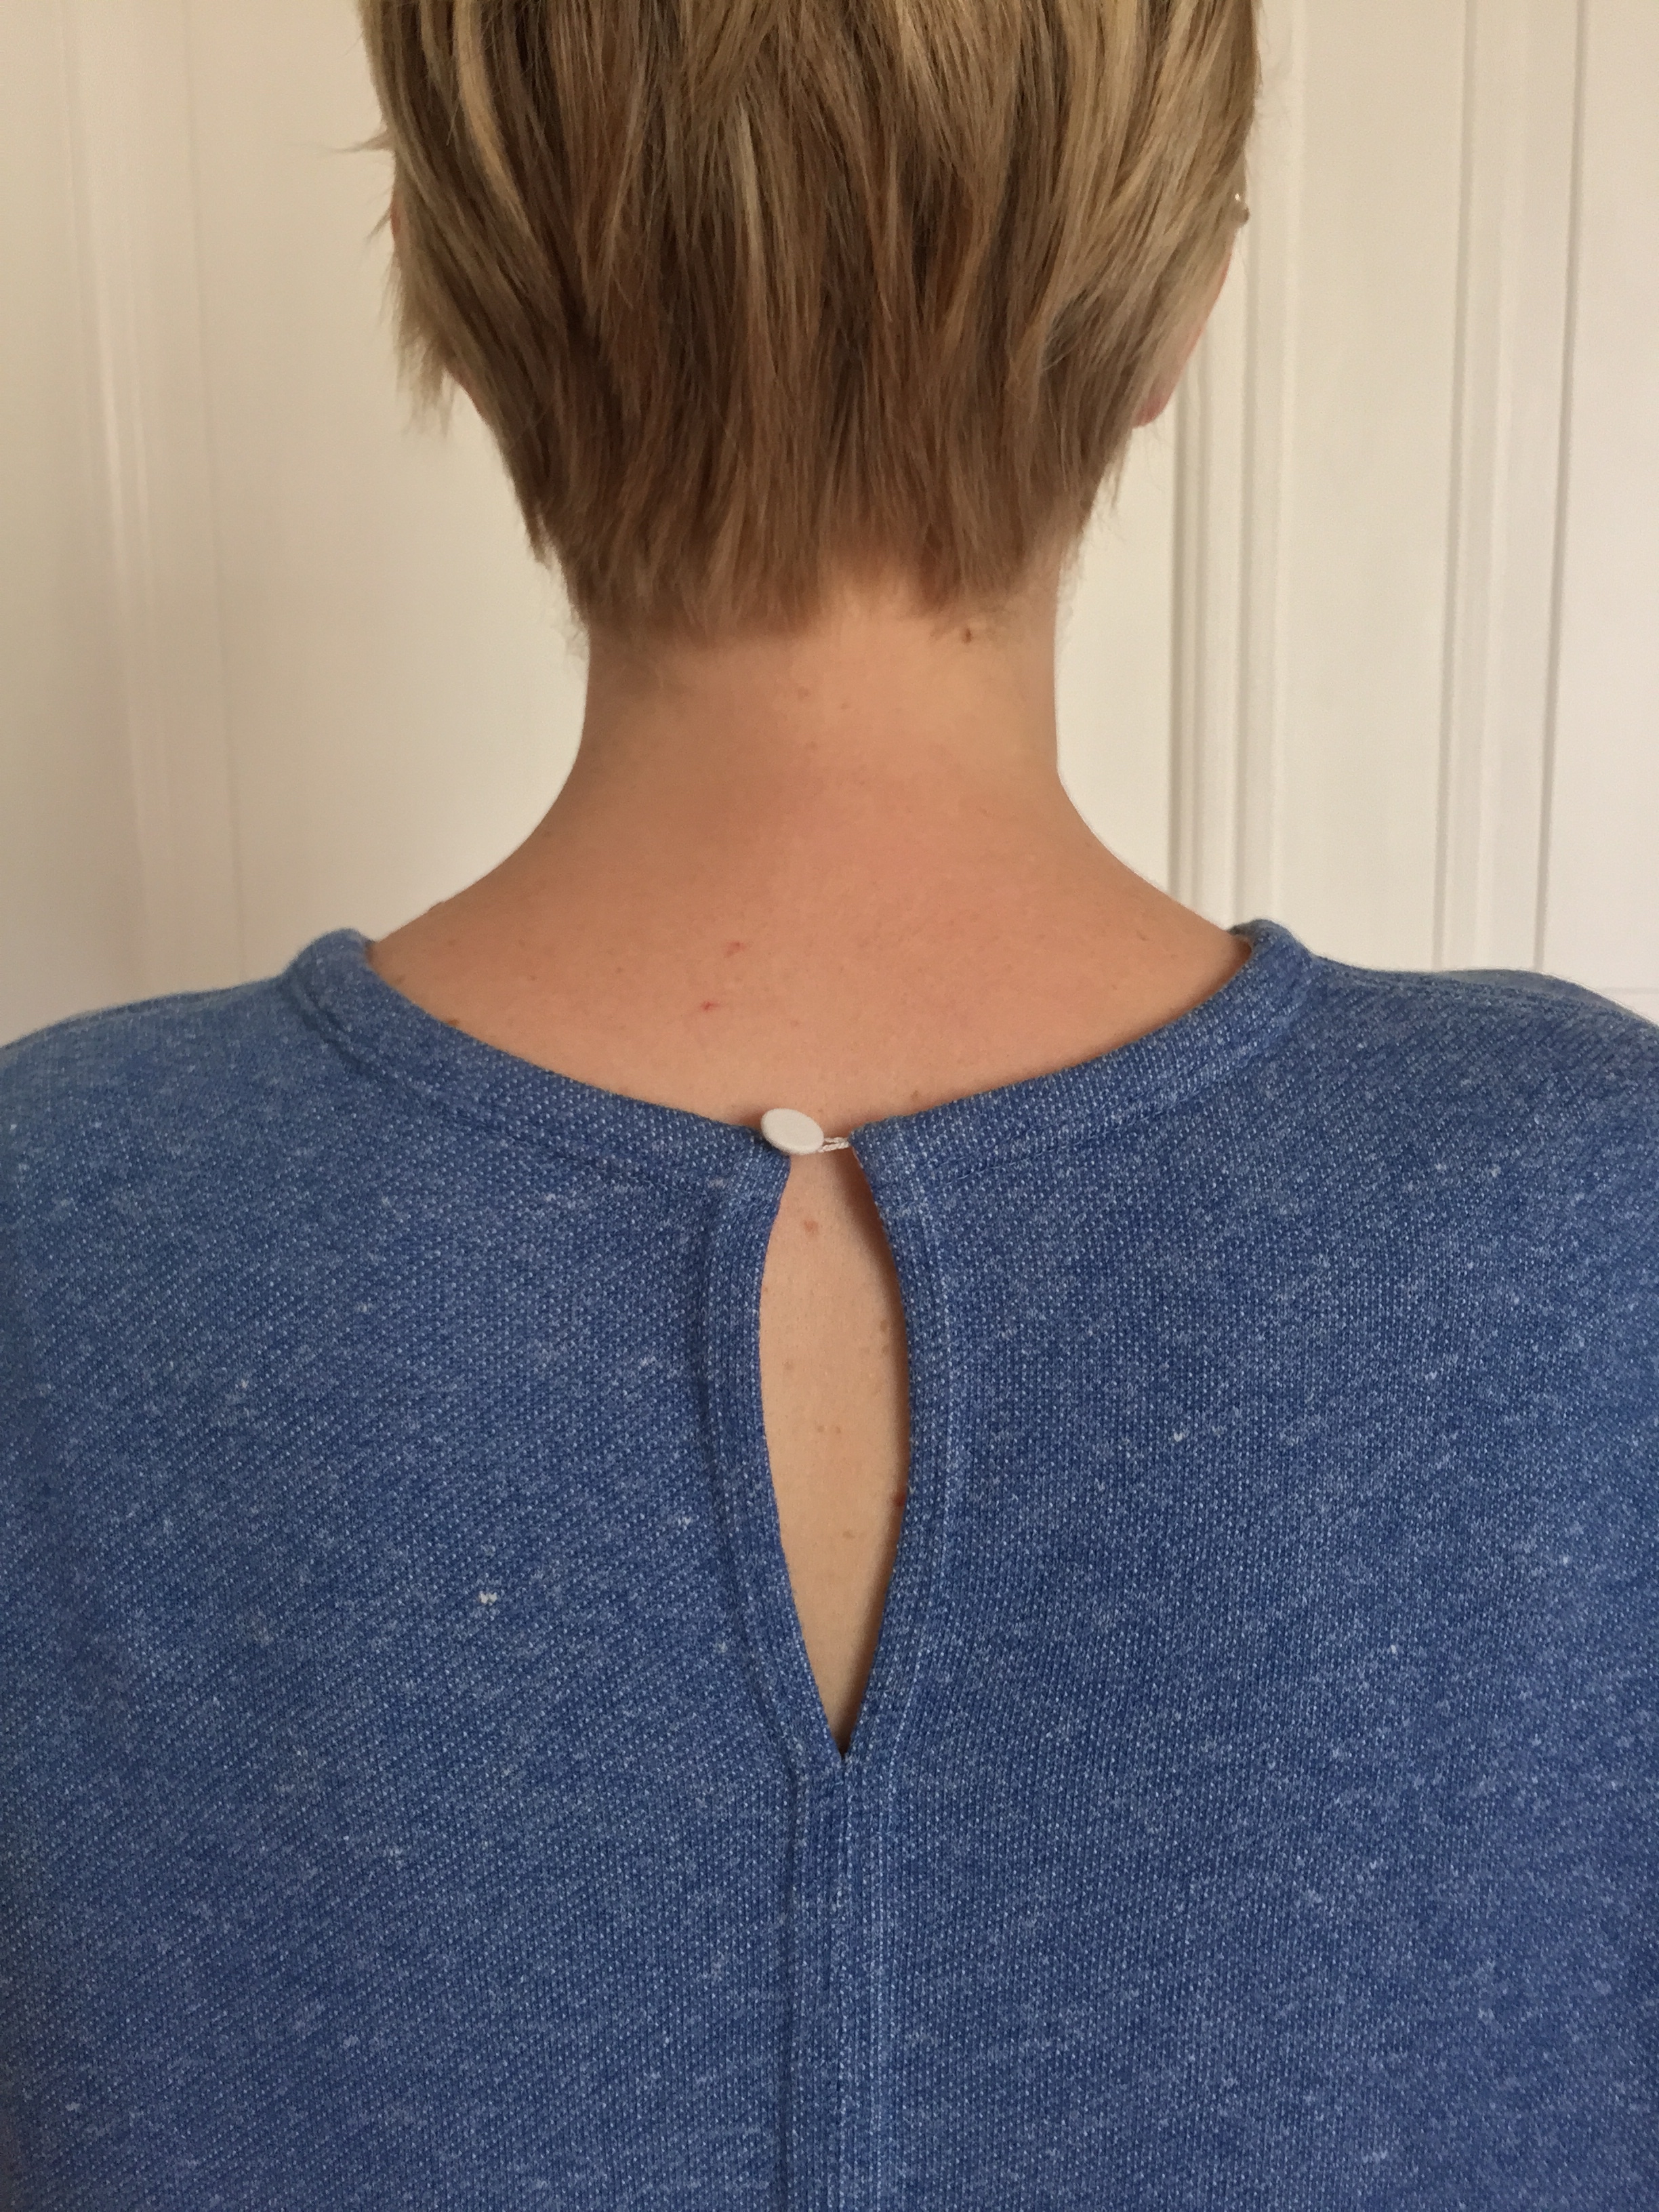
This dress was tinkered with a bit, too. The suggested fabric was a washed silk, which, as you can see in the picture, looks lovely. However, the purpose of this dress was to have something everyday and easy, and so we went with a sweat jersey. There is a bit of a theme going on with the colour, I guess. But why not? Light blue is a great colour on Gabriele – it’s a great colour full stop. Besides easy care the fabric has other advantages: the loose knit allows the skin to breathe, but has enough stand to skim the body, rather than cling.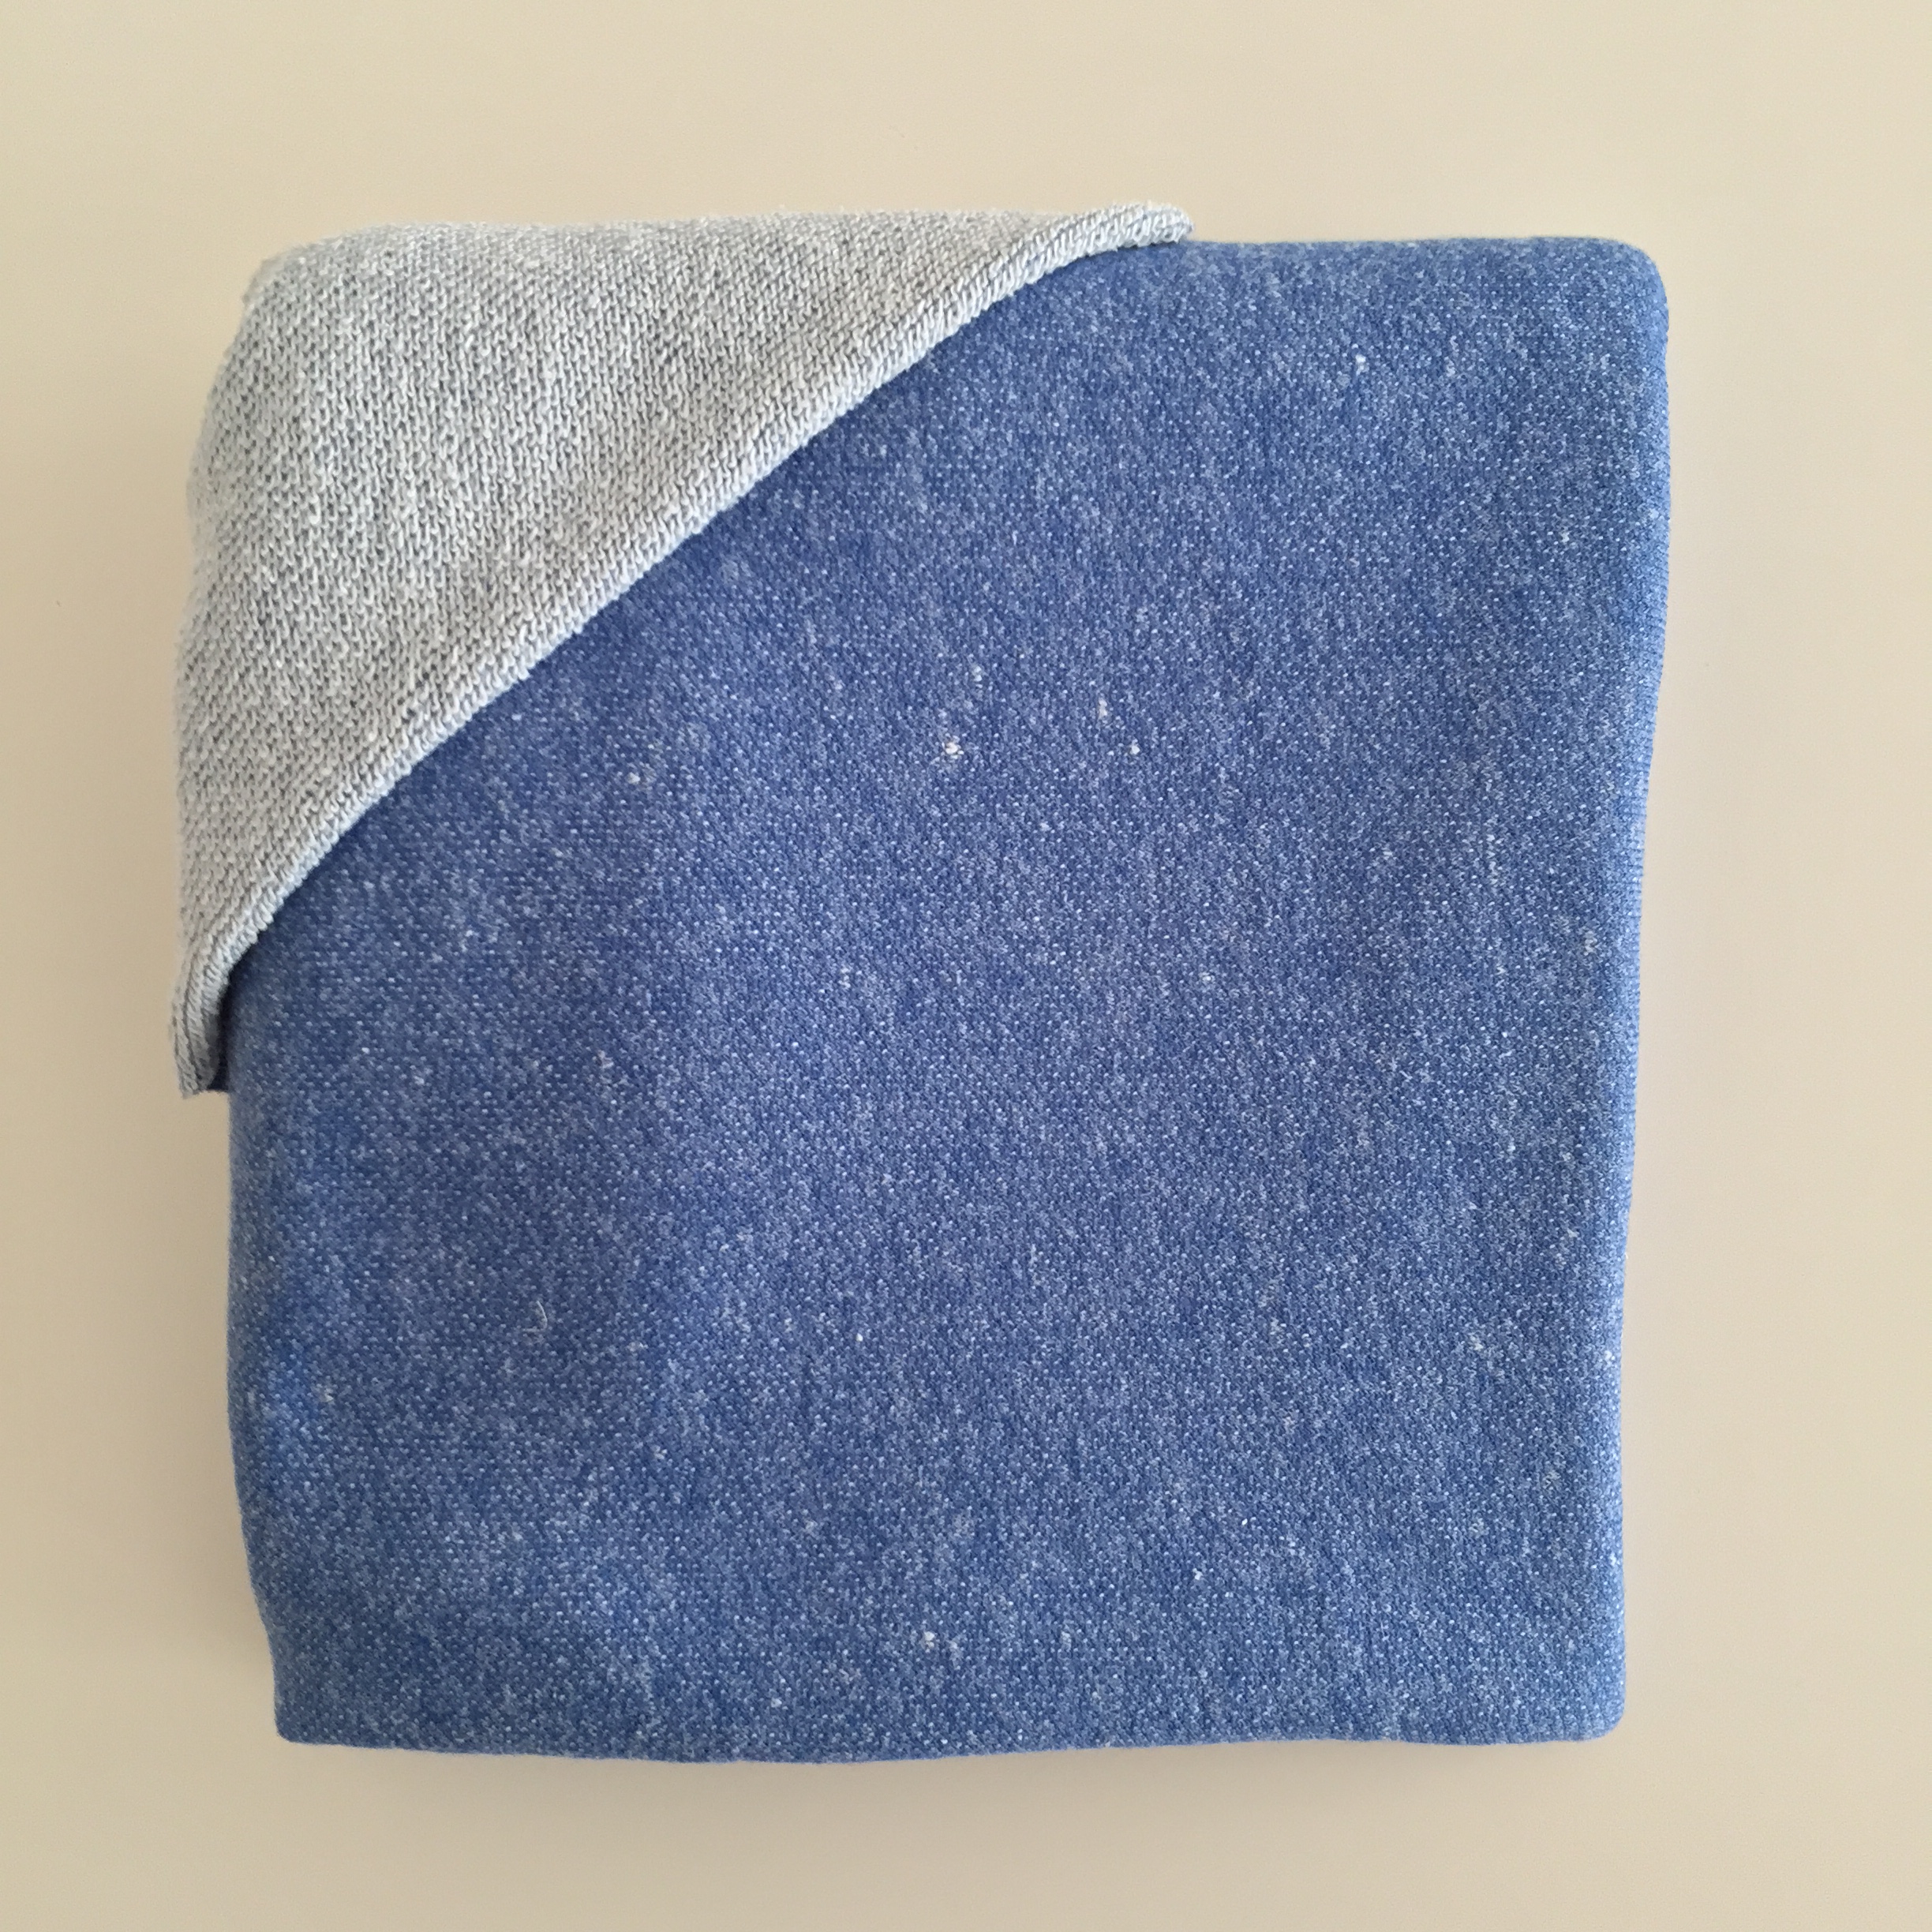
The length went up and down a few times, and ended up with a flattering curve that starts above the knee at the front, and dips at the back. Gabriele also suggested an inward-going curve at the side seam, and the resulting cocoon-shape goes very well with the overall look, I think.
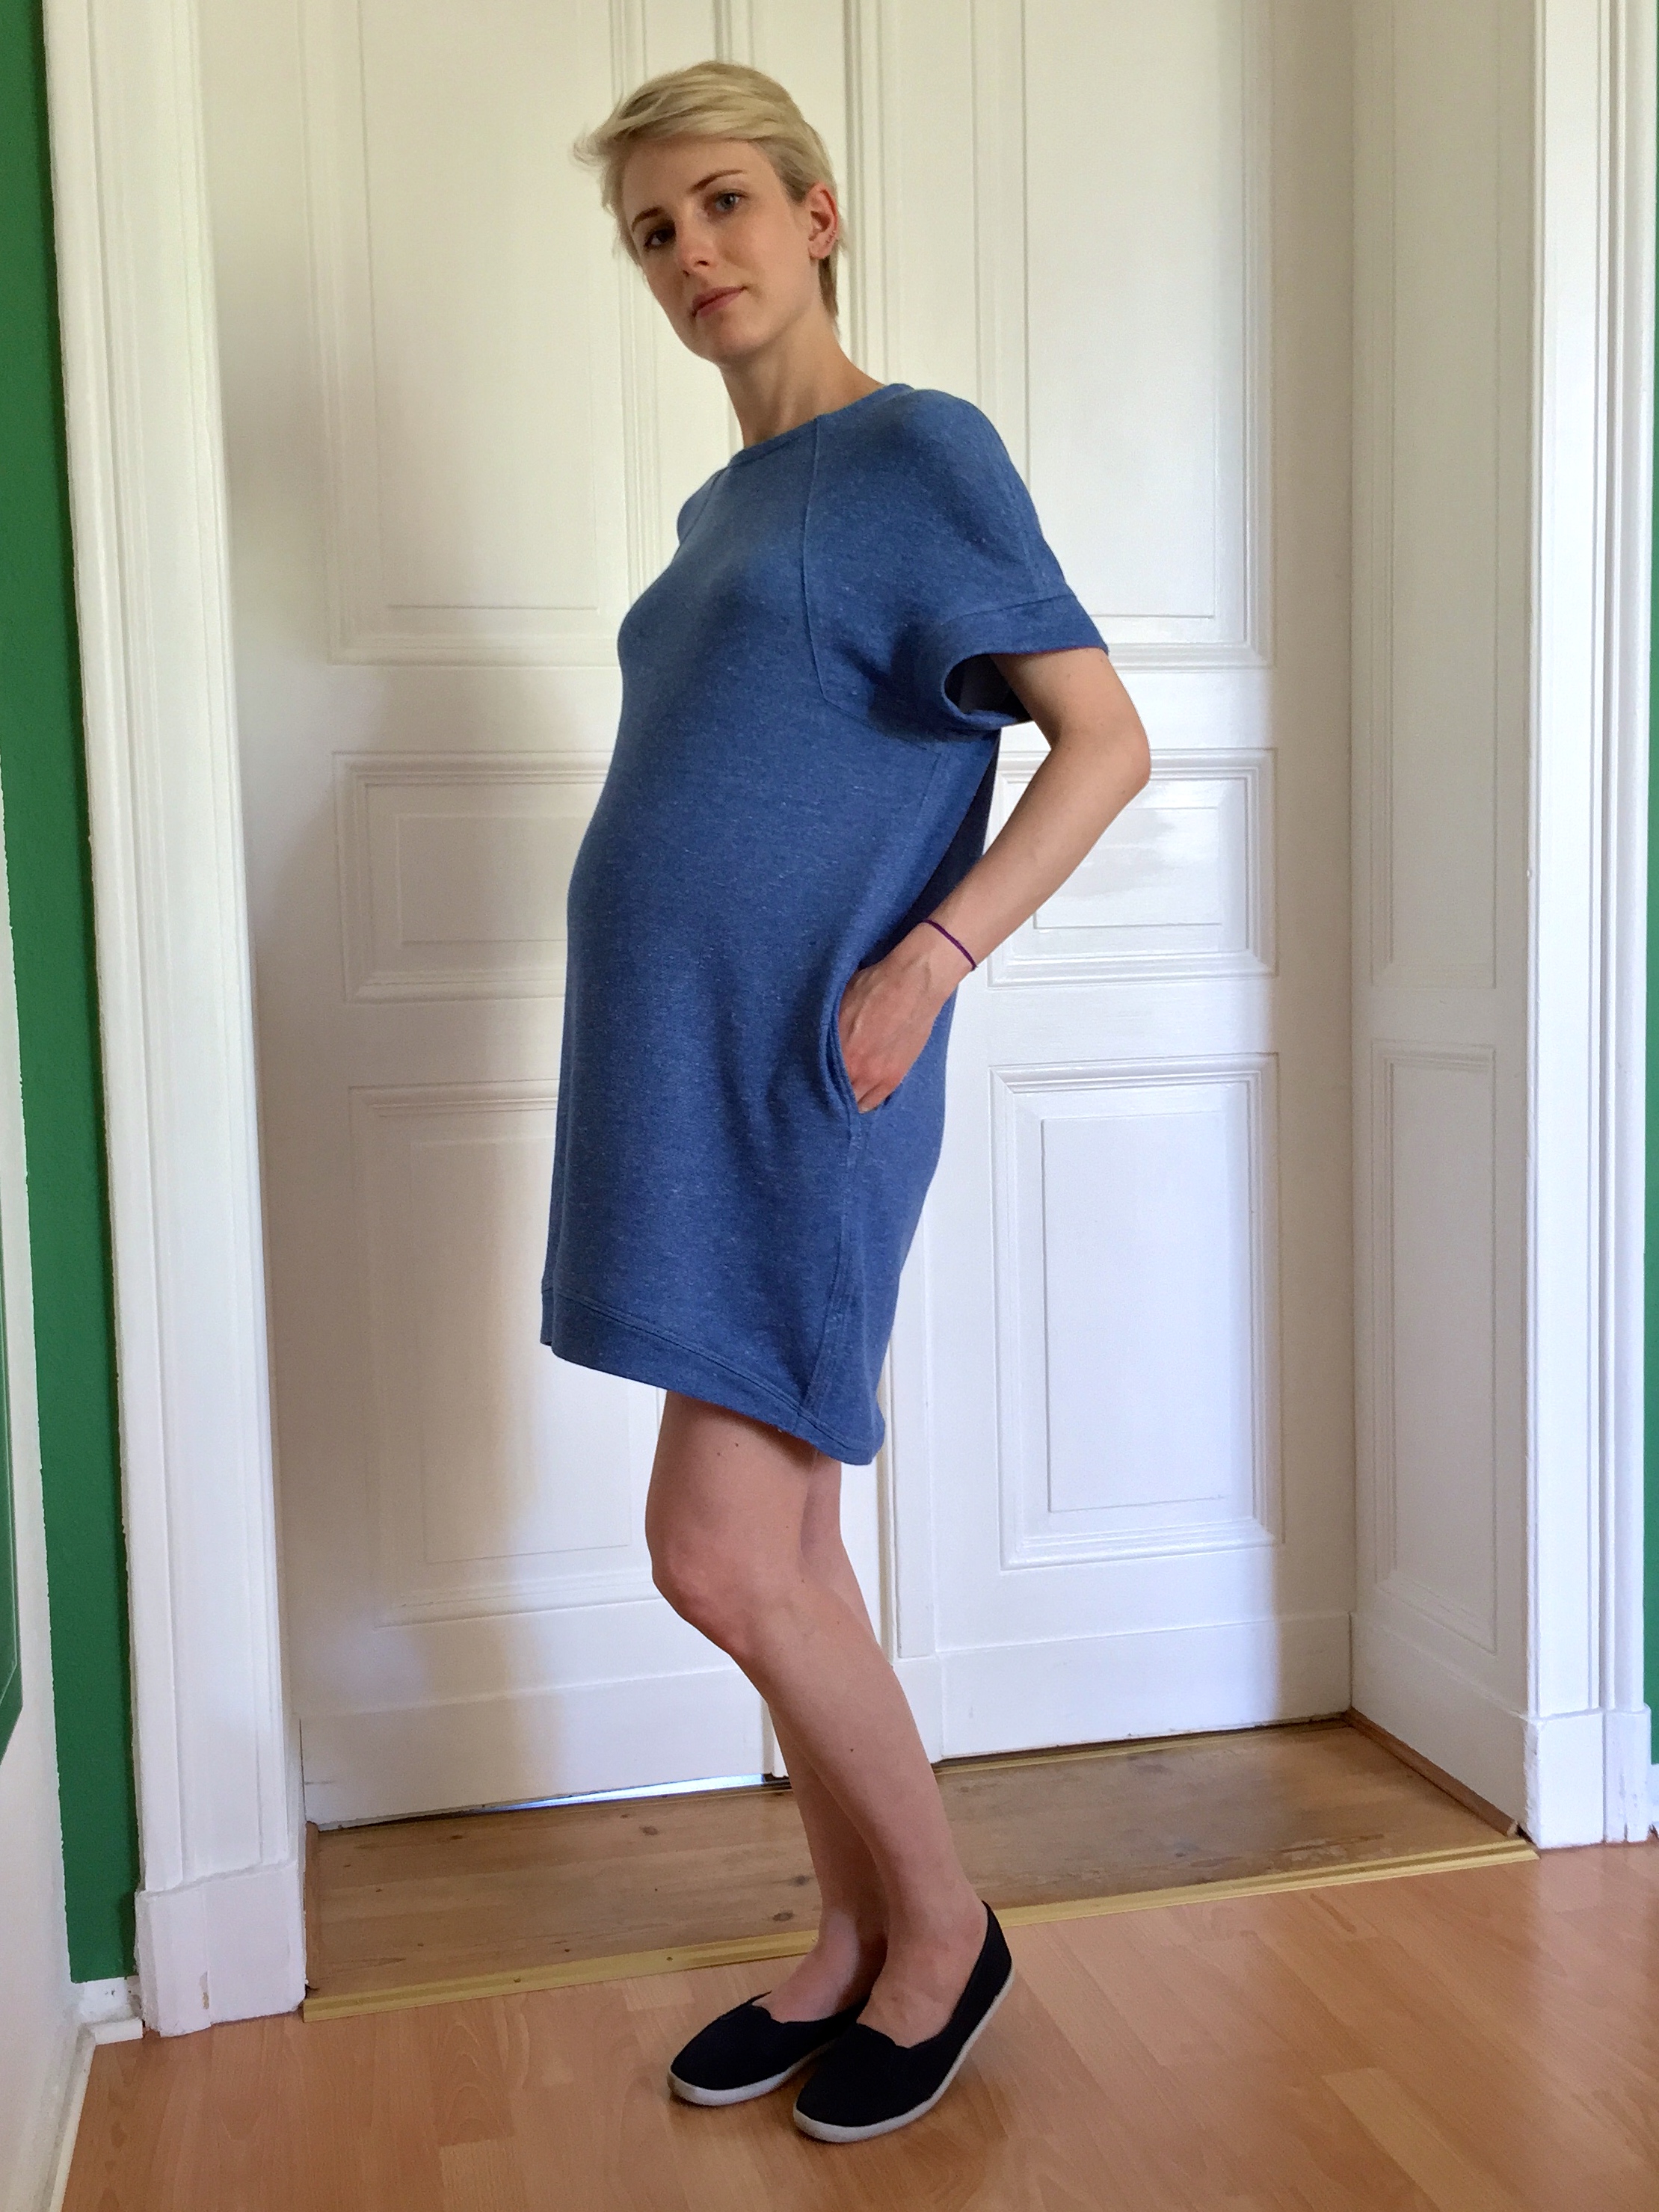
Last thing: the sleeves were shortened a bit, and are actually just long cuffs; I tried the sleeves of the pattern, but in this fabric they ended up looking too clunky and heavy.